Solar Panel Bird Proofing: 7 Steps to Stop Nesting
Last Updated: November 17, 2026
Quick Summary
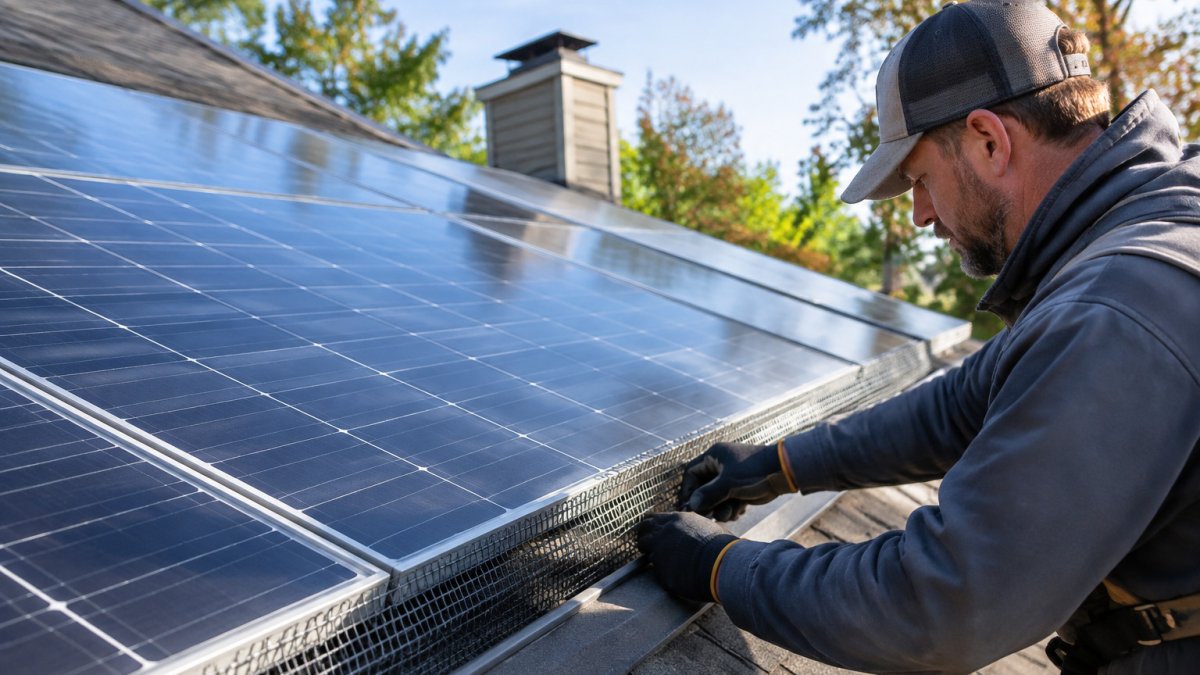
Solar panel bird proofing means sealing the gap under the array with mesh or a guard kit so pigeons, sparrows and squirrels cannot nest there. Seal the panel edges and row ends, clear existing debris, and check the mesh regularly for gaps or loose clips.
- Pigeons, starlings, sparrows and squirrels are the most common visitors under solar panels.
- Nesting can cause wiring damage, fire risk, reduced output and roof damage.
- Stainless steel mesh is the most durable option for roof environments.
- Match mesh aperture to the pests you actually see, not the smallest hole available.
- Stop and call a professional if you find chewed wiring or burned connectors.
Table of Contents
- Why Birds and Pests Nest Under Solar Panels
- Risks of Nesting: Damage, Fire Hazards and Lost Output
- Signs of Bird and Rodent Activity Under Your Array
- Choosing a Solar Panel Bird Mesh by Material, Aperture and Attachment
- How to Keep Birds From Nesting Under Solar Panels
- Solar Panel Critter Guard Installation: DIY Steps and Safety
- Solar Panel Bird Proofing Maintenance and When to Call a Professional
- Frequently Asked Questions
Why Birds and Pests Nest Under Solar Panels
Solar panels create a sheltered, warm gap between the array and the roof. Birds and rodents see that space as a ready-made nest site, and it is hard to spot from the ground. Pigeons, starlings, sparrows and squirrels are the most common visitors.
The space matters because it sits out of the weather and away from predators. Many homeowners only notice the problem after nesting material or droppings build up.
Knowing why animals choose the underside helps you block it before it starts.
Risks of Nesting: Damage, Fire Hazards and Lost Output
Nesting causes more than a mess. The main concerns are:
- Wiring damage: Animals chew cables and connectors, which can cause faults.
- Fire risk: Nesting material and debris can collect near electrical components.
- Reduced output: Droppings and debris can shade cells and cut production.
- Roof damage: Rodents can gnaw through roofing and insulation.
Debris buildup can also trap moisture and make cleaning harder. Catching the problem early keeps repair costs lower and protects your system's lifespan.
Signs of Bird and Rodent Activity Under Your Array
Look for these warning signs from the ground or during a safe roof inspection:
- Nesting material such as twigs, grass or feathers under the panels
- Droppings on the roof, gutters or panel frames
- Chewed wiring, torn insulation or gnaw marks
- Scratching or scurrying sounds at night
- Unusual drops in system output without a clear cause
If you see any of these, have the array checked before the problem grows. Do not climb onto a roof to investigate on your own.
Choosing a Solar Panel Bird Mesh by Material, Aperture and Attachment
Most bird-proofing failures trace back to the wrong mesh, not the wrong idea. The right choice comes down to three specifications: material, aperture (opening size), and attachment method. Get those right and the guard lasts; get them wrong and you either trap debris, block airflow, or void a warranty.
Material
- Stainless steel mesh is the most durable option for roof environments. It resists corrosion from rain, humidity, and bird droppings, and it holds its shape under snow load and wind. The trade-off is cost and weight; it also requires careful cutting because sharp edges can scratch panel frames.
- UV-stable polymer (plastic) mesh is lighter and cheaper, and it is easier to trim on a roof. The trade-off is lifespan: lower-grade plastics become brittle after a few seasons of sun exposure and can crack at the attachment points. Look for mesh labeled UV-stabilized rather than generic plastic.
- Galvanized steel sits between the two on price but can corrode at cut edges over time, especially in coastal or high-humidity areas.
Aperture (hole size)
The aperture determines what the mesh excludes and how much air moves through the gap. A common pattern is to use openings small enough to block sparrows and squirrels, not just pigeons. Smaller apertures exclude more pests but reduce airflow and trap more debris, so the mesh needs more frequent clearing. Larger apertures let air and water pass but allow small birds and rodents through. Ask your installer what aperture matches the pests you actually see, rather than buying the smallest mesh available.
Attachment method
- Clip-on guards attach to the panel frame or racking with stainless clips and require no drilling. They are the least invasive option and are generally the safest for panel warranties.
- Bracket-and-screw systems fasten to the racking or roof structure. They hold up better in high-wind areas but require confirming the correct fastening points so you do not penetrate the roof deck or panel frame.
- Adhesive or tie-based methods are the weakest long-term choice; sun and temperature swings degrade adhesives, and ties can rub against wiring.
Warranty and compatibility checks
Before buying, confirm three things with the manufacturer or installer: that the attachment method does not require drilling into the panel frame, that the mesh does not cover ventilation gaps designed into the array, and that the product is listed as compatible with your racking system. Many panel warranties exclude damage from unauthorized modifications, so keep the product documentation.
Practical selection sequence
- Identify the pest (pigeon, sparrow, squirrel, rodent) and its likely access route.
- Match aperture to that pest, not to the smallest hole available.
- Choose material based on roof exposure and expected service life.
- Choose attachment based on roof type and wind exposure.
- Confirm warranty compatibility before purchase.
Watch out: buying mesh by price alone often means replacing it within a few seasons, and a failed guard can leave nesting material trapped against wiring.
How to Keep Birds From Nesting Under Solar Panels
Prevention works best when you combine a physical barrier with simple upkeep:
- Seal the gap along the panel edges with mesh or a guard kit.
- Block the openings at the ends of each row.
- Add deterrents such as bird spikes on nearby ledges.
- Trim nearby branches so animals cannot reach the roof easily.
- Clear any debris that has already collected.
The steps below summarise the main prevention actions covered in this section.
| Step | What to do | Note |
|---|---|---|
| 1 | Seal the gap along panel edges | Use mesh or a guard kit |
| 2 | Block openings at row ends | Stops re-entry through open corners |
| 3 | Add deterrents on nearby ledges | Bird spikes |
| 4 | Trim nearby branches | Keeps animals from reaching the roof |
| 5 | Clear existing debris | Remove what has already collected |
Solar Panel Critter Guard Installation: DIY Steps and Safety
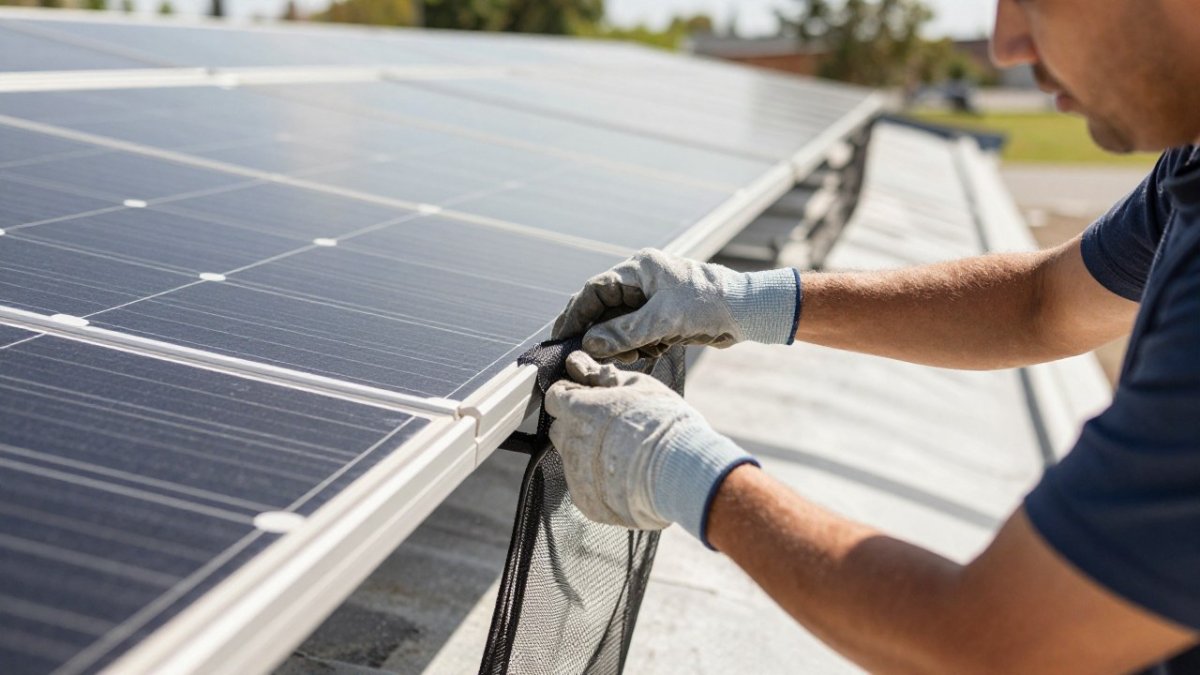
This is the part most guides skip: a safe, sequenced installation that protects both the array and the person on the roof. If you decide not to do the work yourself, learn how to choose the right solar installer. The steps below assume a sloped residential roof with a standard racked array. If your roof is steep, wet, or the array is large, the safety call is to hire a licensed installer.
Before you start: electrical and roof safety
- Understand the electrical risk. Solar arrays produce direct current whenever the sun is up, and the wiring under the panels remains energized even when the system is switched off at the disconnect. Do not touch wiring, connectors, or junction boxes. If a connector looks burned or chewed, stop and call a qualified solar professional.
- Shut down only what you are qualified to shut down. If you can safely reach the AC disconnect, turning it off reduces risk, but it does not de-energize the DC side of the array. Treat all wiring as live.
- Use fall protection. A harness anchored to a proper anchor point, a stable ladder, and a helper on the ground are the minimum. Avoid working alone, and avoid wet, windy, or icy days.
- Protect the roof surface. Use soft-soled shoes and avoid stepping on panel glass or on the roof areas between racking and edges.
Preparation
- Measure the full perimeter of the array, including the ends of each row, and add a small overlap allowance.
- Photograph the underside of the array before you start so you have a record of existing wiring and debris.
- Clear loose nesting material and debris with a soft brush; do not pull on wiring or dislodge connectors.
- Confirm the mesh, clips, and cutting tools are rated for the job, and have a plan for securing cut edges so they do not scratch the frame.
Installation sequence
- Start at one corner and work along the panel edge, attaching clips or brackets to the racking per the product instructions.
- Stretch the mesh along the edge and secure it at intervals so it stays taut; sagging mesh creates gaps and traps debris.
- Close the ends of each row, since a single open corner is enough for birds to re-enter.
- Keep the mesh clear of wiring, connectors, and any ventilation gaps designed into the array.
- Trim excess mesh and secure cut edges so they cannot rub against the frame or roof.
Final inspection
- Walk the perimeter and check for gaps larger than the target pest.
- Confirm the mesh does not touch or press on wiring.
- Check that clips are fully seated and that no fastener penetrates the roof deck or panel frame.
- Look for any place where water could pool against the mesh.
When to stop and call a professional
Stop if you find chewed or burned wiring, if the roof pitch or height makes fall protection impractical, if the array is large or complex, or if the installation would require drilling into the roof or panel frame. A licensed installer can also confirm that the guard does not affect your panel warranty.
Watch out: drilling into roofing or panel frames without confirming the correct method can void warranties and cause leaks, and working near energized DC wiring without training is a serious shock hazard.
Solar Panel Bird Proofing Maintenance and When to Call a Professional
Bird proofing needs regular checks. Look for loose clips, torn mesh and new nesting material.
Call a professional when you notice:
- Chewed wiring or burned connectors
- Signs of rodents inside the roof or attic
- Repeated nesting after you have sealed the array
- Any issue that requires working on live electrical parts
Go Solar DMV can help you review your array and your options. For help with your system, book a solar inspection or review solar panel repair options to decide the next step.
Frequently Asked Questions
What is bird proofing for solar panels?
Bird proofing means installing a physical barrier, usually a fine metal or polymer mesh, around the edges and underside of a solar array so birds, squirrels and rats cannot reach the space beneath the panels. The barrier blocks nesting material and droppings from collecting there while still allowing airflow to keep the panels cool. Bird proofing is most effective when it is installed before nesting starts, but it can be added at any time. Check that any mesh you buy is rated for outdoor UV exposure and that its openings are small enough for the pests you are targeting.
How can I prevent birds from nesting under solar panels?
The most reliable method is to close off the gap beneath the panel edges with a corrosion-resistant mesh or guard kit, which denies birds a sheltered nesting spot. Combine exclusion with deterrents such as bird spikes along the roofline, and trim nearby branches that give birds and squirrels access to the roof. Clear any existing nests and debris before sealing the area, since leaving nests in place invites reuse. Inspect the barrier after storms and at the start of nesting season each spring. Many pest control and wildlife rules restrict disturbing active nests, so check local guidance before removing any birds or nests.
Can squirrels or rodents damage solar panel wiring?
Yes. Squirrels and rats chew insulation on exposed cables, and they can leave droppings and nesting material that trap heat near wiring and junction boxes. Damaged insulation raises the risk of shorts and electrical faults, which is why many installers treat rodent exclusion as part of system safety, not just cosmetic protection. Look for chewed cable jackets, scratch marks on conduit and droppings during routine inspections. If you find damage, turn off the system and have a licensed electrician or certified solar installer make repairs before restarting it.
Can I install solar panel bird mesh myself?
Many homeowners can install simple clip-on guards, but the work involves a roof and live electrical equipment, so safety comes first. Use a fall-protection harness, work only in dry conditions, and keep the system switched off where your installer or manufacturer instructions require it. Never drill through roofing membranes or panel frames unless the manufacturer's guide approves it, since penetrations can void warranties and cause leaks. If you are unsure about roof access, wiring or warranty terms, hire a qualified installer.
